Showing posts with label techniques. Show all posts

Monday, November 3, 2014

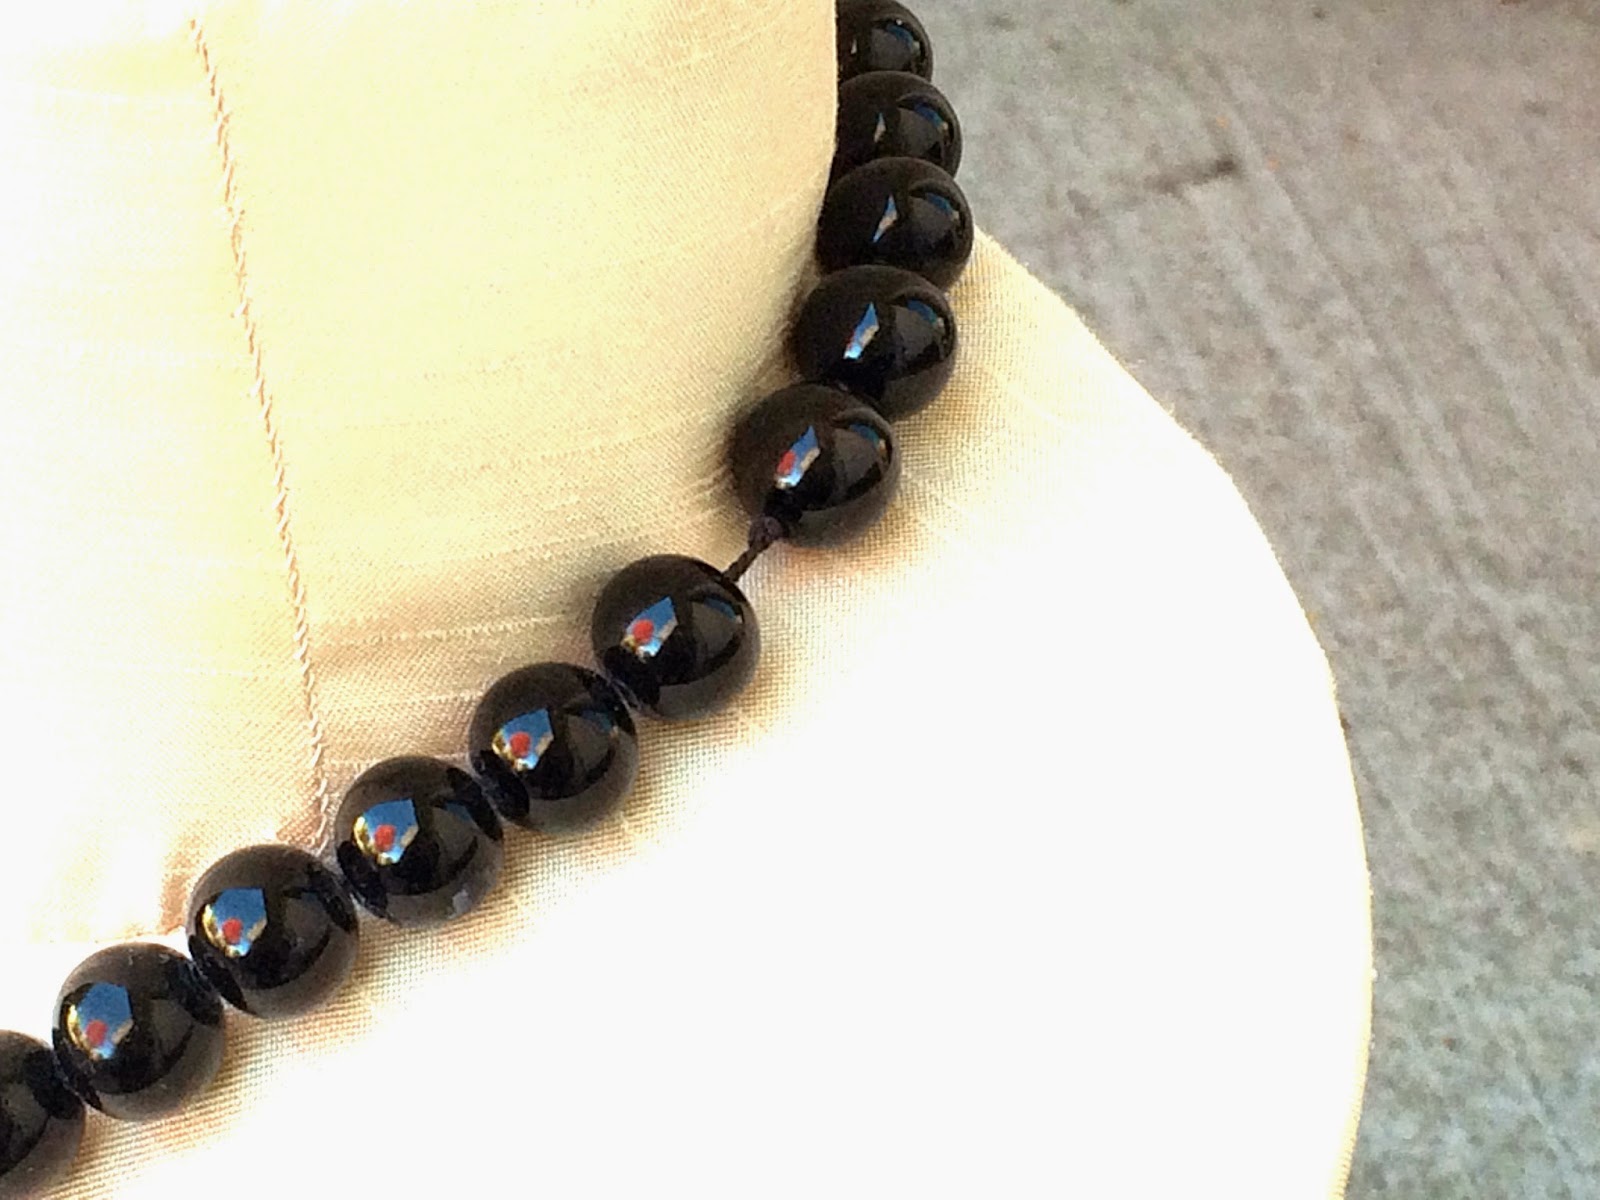
Mistake of the Month Mondays: The Stretched Out Necklace

One of the first necklaces I ever made for myself, this started out as a vintage 12.5" chocker that was too small for even my scrawny neck.  To make it functional, I supplemented the onyx with black glass (an unscrupulous vendor told me it was black onyx and I didn't know the difference) and large contemporary onyx.  I hand strung and knotted the beads on double-stranded black silk.  I loved the graphic interest introduced by the natural onyx's white quartzile streaks.  Being black, this was a great everyday piece for work.  I wore it a lot--or at least I did until it stretched out.


Textile-strung necklaces do stretch out and periodically need restringing. The heavier the beads, the more frequently the necklace will need restringing.  However, on the production side of jewelry-making, you can reduce the frequency your clients' beads need restringing by: 
  1. Using silk.  It has the greatest tensile properties of all the available textiles. FFF-sized silk, for example, has a 15 pound test strength.
  2. Giving your silk thread a really good, thorough, strong tug before using it.  This gets rid of its stretch before you start adding beads. 
  3. Using the right size thread.  The silk should fully fill the bead hole.  What if the bead hole is huge and even FFF-sized thread won't fill it?  String on chain or add more thread! When given the choice I typically prefer to string on silk to keep my beads from knocking together. Thus, when even double-stranded FFF silk won't do the job, I simply start adding more strands of silk until the hole is filled. Usually I don't need to add more than 1-2 strands, but I am perfectly open to adding more if needed.
  4. Make sure your knots are very, very tight.

On the user's end, the need for restringing can be reduced by:
  1. Always storing textile-strung necklaces flat, in a box.  Do not hang the necklace from a hook, as I did with this piece.  The heavier the beads, the  more important it is to follow this advice. 
  2. Never hang heavy objects from the necklace. Small children count as heavy objects.
  3. Keeping the thread dry.  If thread does become wet, lay the necklace flat to dry.  Wait until the silk is completely dry (usually a full day or two) before wearing the necklace again.

Tuesday, September 23, 2014

Tripped Up Tuesdays: Feeling Uncentered

A slightly off center lapis stone. 
For my first try at bezel setting, this wasn't too bad.  However, you can see that the lapis shifted slightly while I was pushing the bezel sides in.  By the time I noticed, it was too late to fix.


Although I didn't realize it at the time, part of the problem was my tool:

A bezel roller.  Photo courtesy bestjewelrysupply. Ebay user.

This is a fairly standard bezel setter, but I don't have a lot of upper body or hand strength.  Using it, I found that I could only push the bezel sides in a micron at a time.  Typically, you want to firmly push each side of the bezel to form a square that "locks in" the stone.  With my wimpy pushes, I had inadvertently jostled the stone.  I was in a class, and I spent so much time trying to get the first stone set that I took the second bezel and stone home to finish.  Only, I forgot that I didn't have a bezel roller at home.  What I had instead, was this tool:


A used airliner burnishing tool

This tool is a much used burnisher that I purchased on e-bay.  Previously used on airliner innards, it was twice as big as the usual burnisher for sale on e-bay and much too big for my hands--or so I thought. I had nothing else to set the stone, however, so I tried it out.  It was fabulous!  It bent the silver like butter, and I quickly locked the second stone in:
This stone is perfectly centered.  I haven't yet created the rolled edge to give it a finished look
It turns out this large burnisher greatly improved my mechanical advantage.  If you find yourself struggling with bezel rollers, I highly recommend it.  That, and double-checking the position of your stones before it's too late.